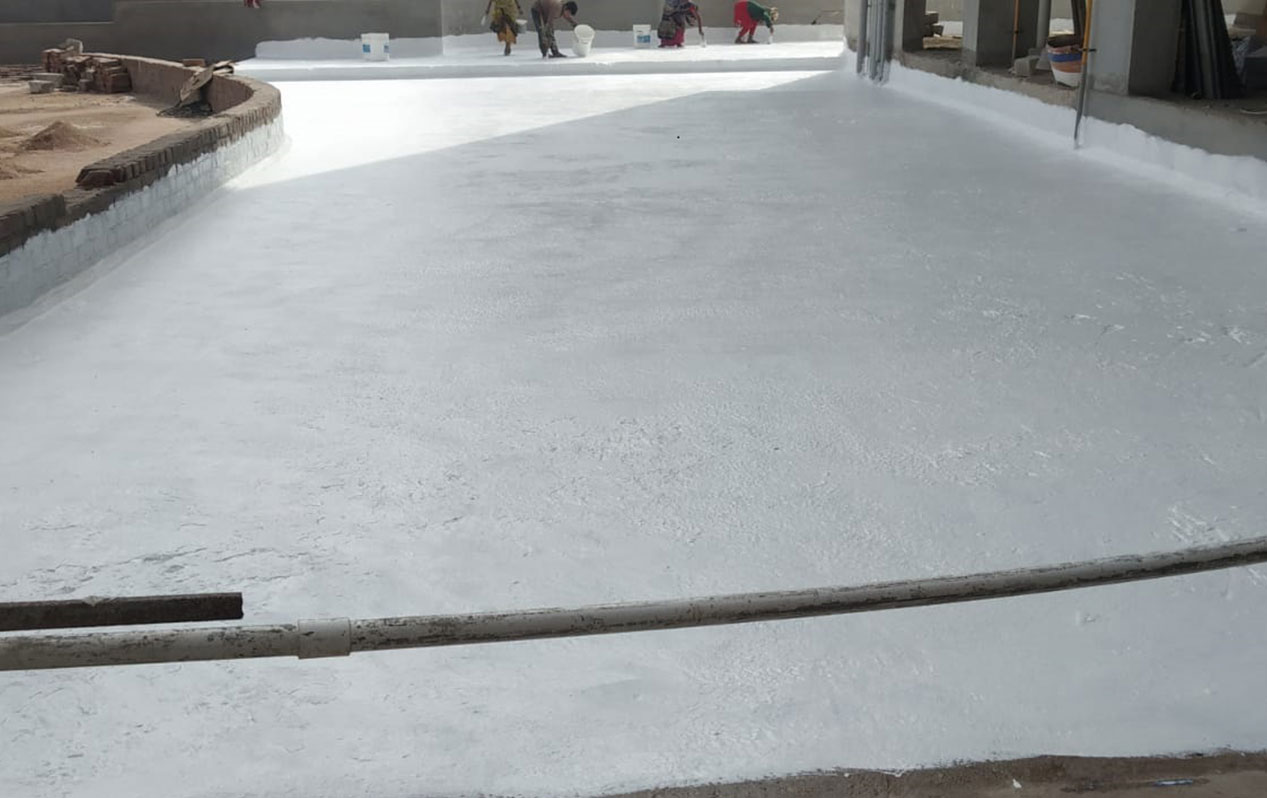
Two-part epoxy is a versatile and durable adhesive that is commonly used for bonding, sealing, and coating various materials. Whether you’re a seasoned DIY enthusiast or a beginner looking to tackle a new project, understanding how to properly apply two-part epoxy is essential for achieving strong and long-lasting results. In this blog post, we will walk you through a step-by-step guide on how to apply two-part epoxy effectively.
Materials You’ll Need:
- Two-part epoxy kit (resin and hardener)
- Mixing container
- Stirring stick or paddle
- Clean lint-free cloth
- Sandpaper or abrasive pad
- Protective gloves and safety glasses
- Masking tape (optional, for precision applications)
- Surface cleaner (acetone or denatured alcohol)
Step 1: Prepare Your Work Area and Materials Start by setting up your work area in a well-ventilated space. Ensure that the surfaces you’re going to bond are clean, dry, and free from any dust, grease, or contaminants. Clean the surfaces using a suitable surface cleaner like acetone or denatured alcohol. Gather all the necessary materials mentioned above to have them at hand throughout the process.
Step 2: Measure and Mix the Epoxy Most two-part epoxy kits consist of a resin and a hardener, which need to be mixed in the correct ratio to activate the chemical bonding process. Refer to the manufacturer’s instructions on the packaging to determine the appropriate mixing ratio and pour the required amount of each component into the mixing container.
Step 3: Thoroughly Stir the Epoxy Using a clean stirring stick or paddle, blend the resin and hardener together. Make sure to scrape the sides and bottom of the container to ensure a thorough and uniform mix. Stirring is crucial to achieve a homogenous blend that will lead to a successful bond.
Step 4: Apply the Epoxy The application method may vary depending on your project’s requirements. For general bonding or coating applications, you can use a brush, roller, or even a spatula. For precision work or small projects, consider using a syringe or a toothpick to apply the epoxy precisely.
Step 5: Secure the Bond Once you’ve applied the epoxy, bring the two surfaces together, ensuring a snug fit. Use clamps or tape to hold the parts in place while the epoxy cures. Follow the manufacturer’s instructions regarding the curing time and avoid disturbing the bond during this period.
Step 6: Clean Up After the epoxy has fully cured, which typically takes several hours to overnight, remove any clamps or tapes carefully. Clean any excess epoxy with a clean lint-free cloth dampened with a suitable solvent. If there are any visible imperfections or rough edges, you can sand them gently using fine-grit sandpaper or an abrasive pad.
Safety Precautions:
- Always wear protective gloves and safety glasses while working with epoxy to prevent skin and eye irritation.
- Ensure proper ventilation in your work area to avoid inhaling fumes.
- Dispose of any unused epoxy or mixing containers according to local regulations.
Conclusion: Knowing how to apply two-part epoxy correctly is a valuable skill that opens the door to a wide range of DIY projects and repairs. By following the step-by-step guide and taking necessary safety precautions, you can confidently tackle various bonding, sealing, and coating tasks with ease. Remember, practice makes perfect, so don’t be afraid to experiment and refine your technique over time. Happy epoxy bonding!


